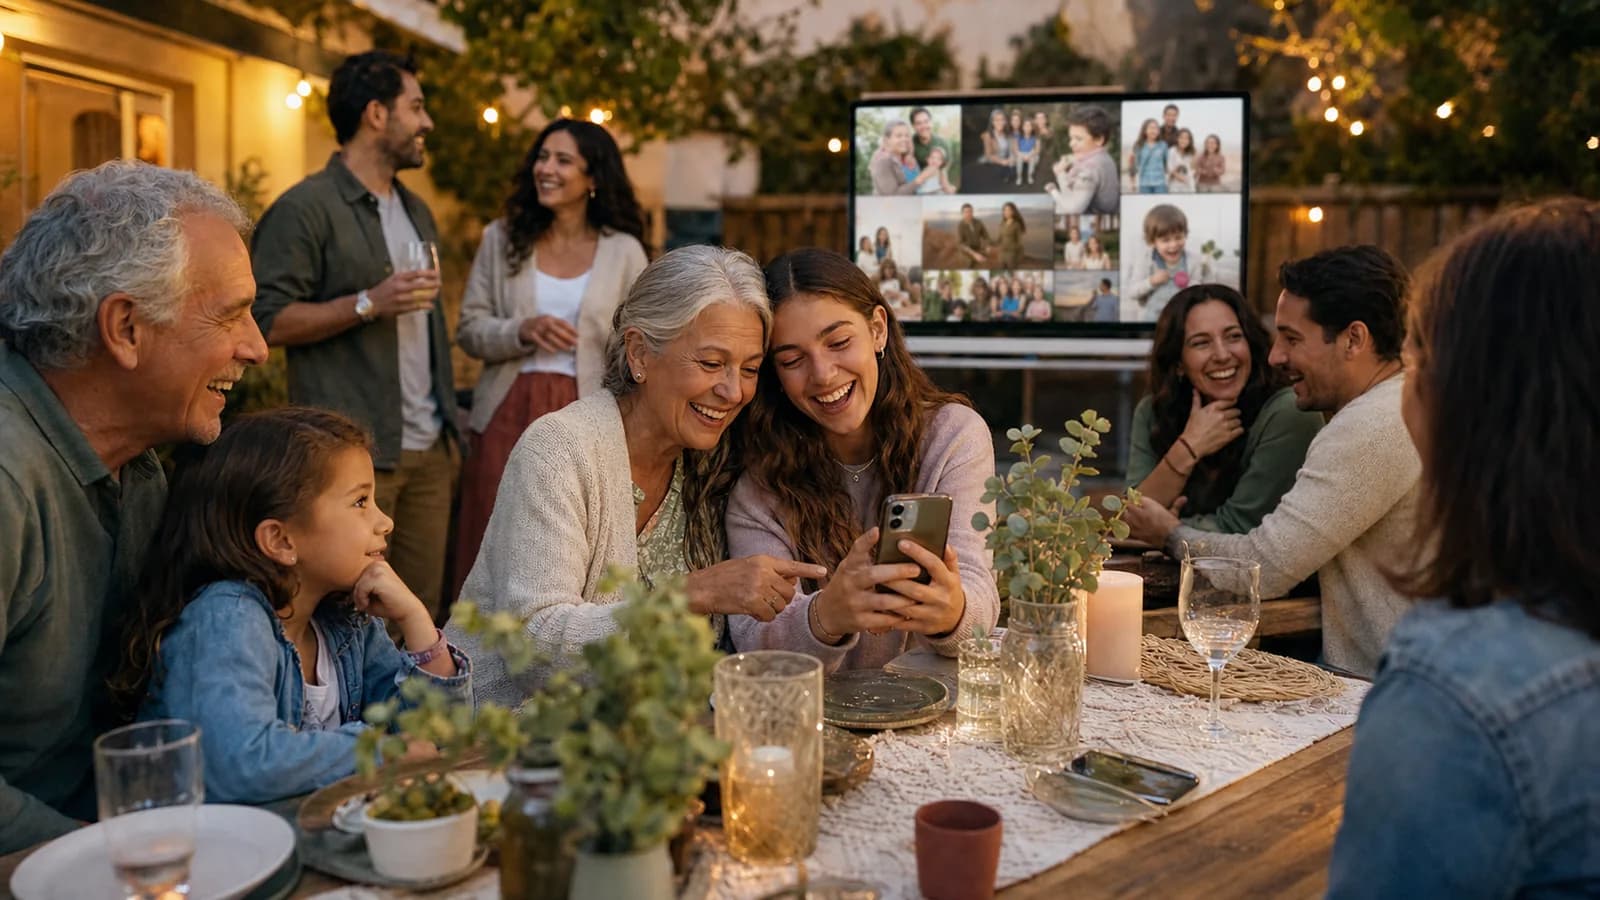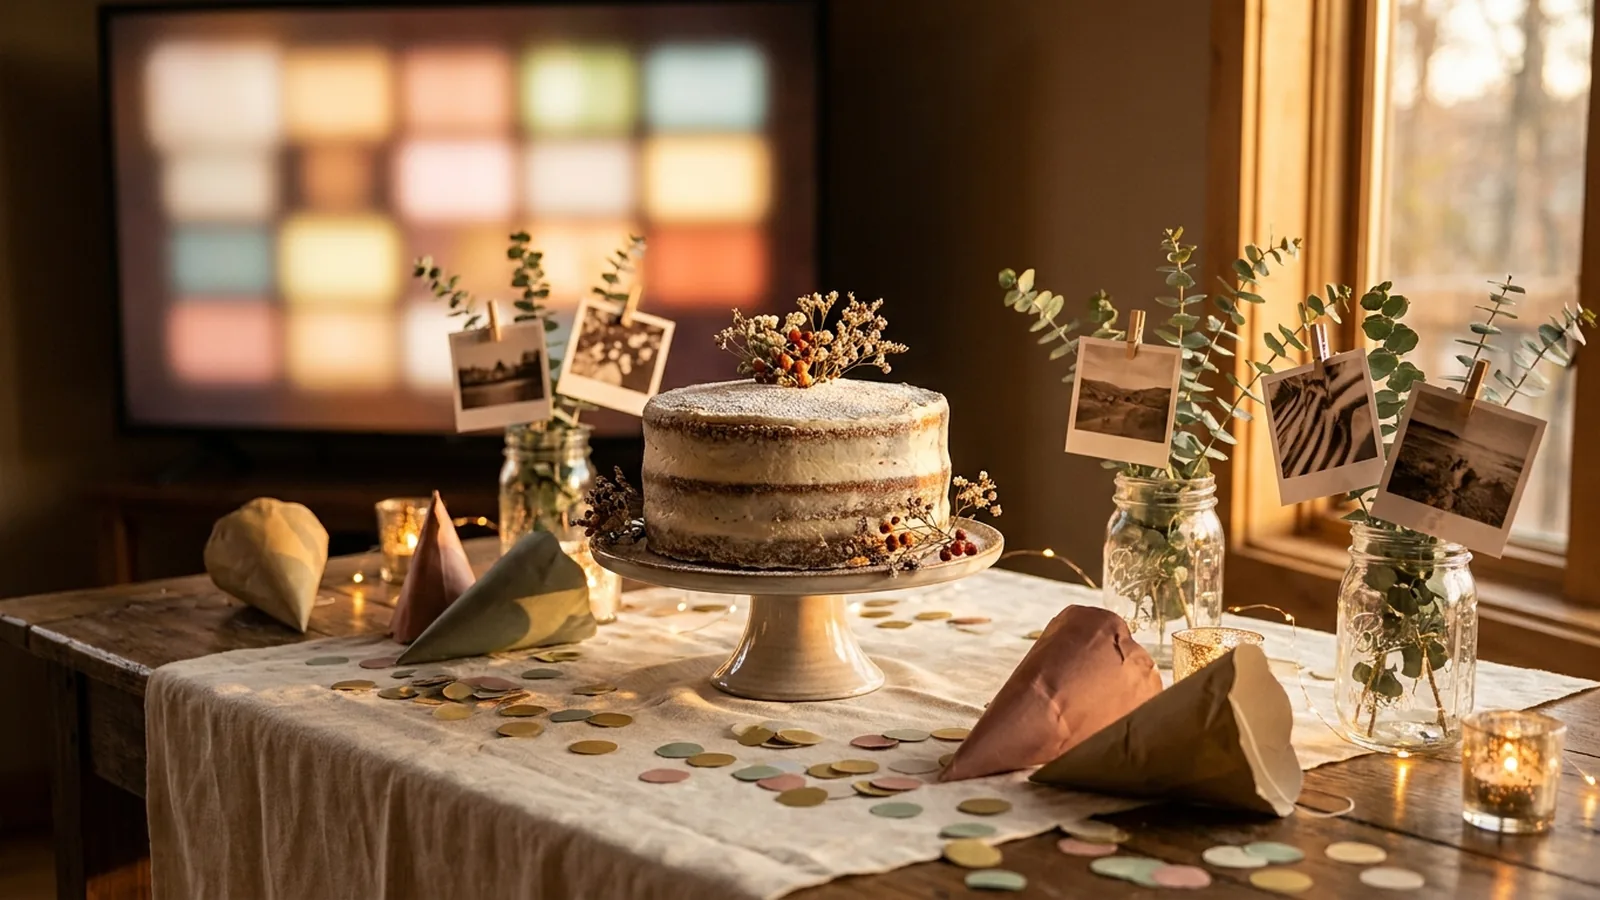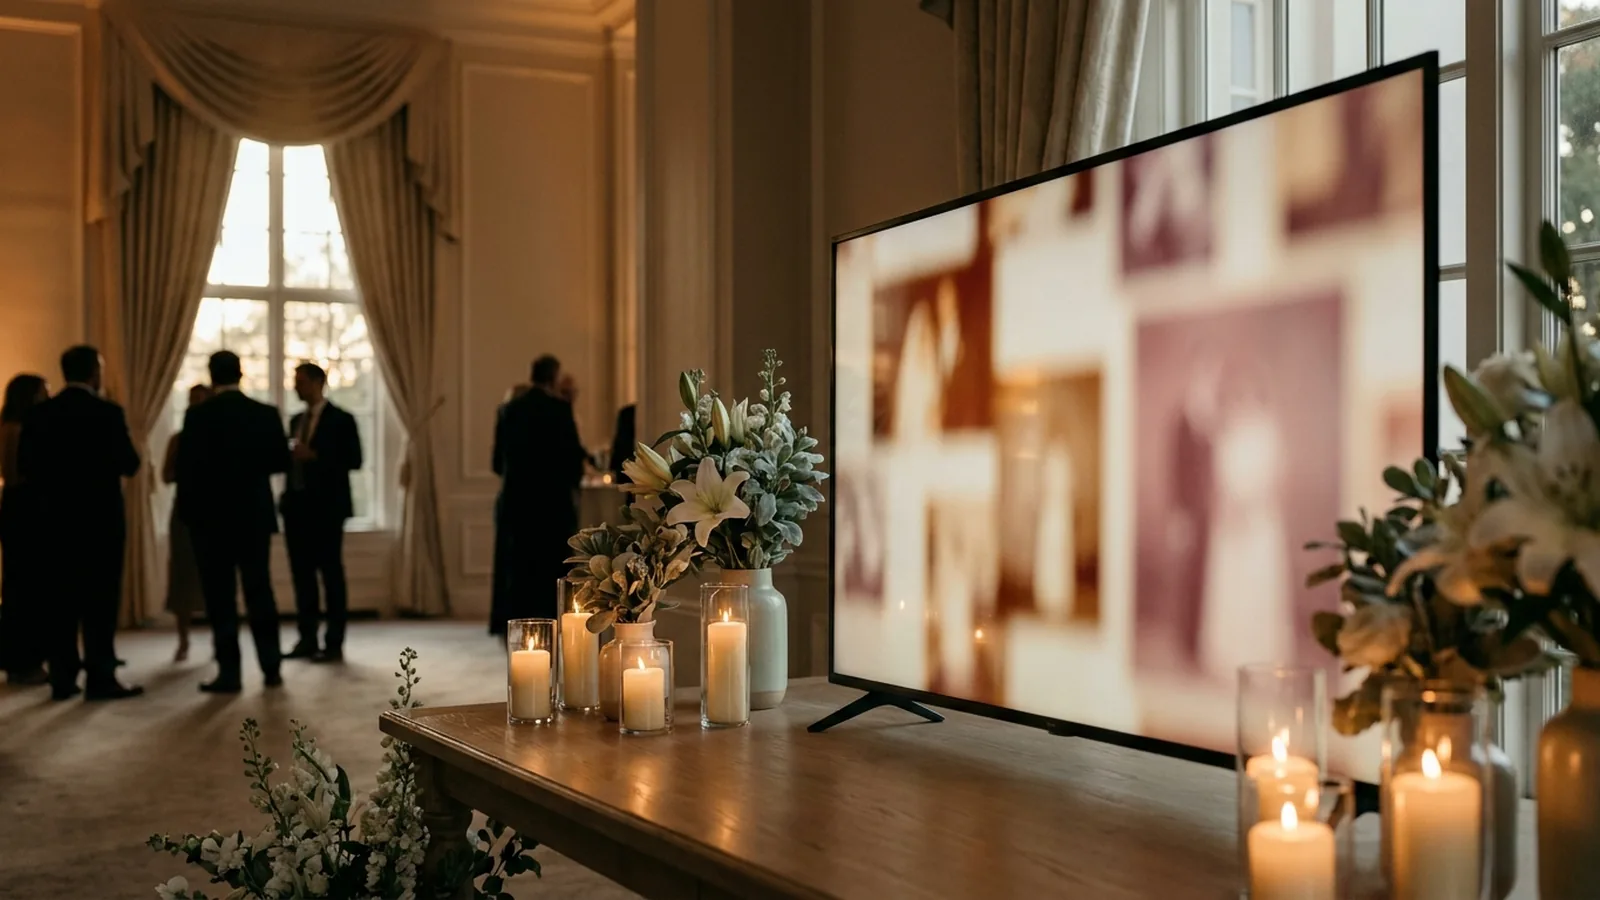
An anniversary party is the one celebration where the photographs already exist. Decades of them — a courthouse ceremony, a first apartment, the years of kids and moves and holidays — usually sitting in shoeboxes and albums nobody has opened in a while. The display is what brings them back into the room. The best anniversary displays do two things at once: they show the couple's history to the people who lived parts of it, and they collect the photos the party itself produces, which is the one chapter nobody has yet.
The strongest anniversary party photo displays pair a printed retrospective — a year-by-year or decade timeline, framed table centerpieces, a then-and-now pairing, or a milestone number filled with prints — with a live slideshow on the room's screen. Load the retrospective photos as the slideshow's opening sequence, then give guests a QR code so the photos they take during the party join the display as the evening goes on.
Continue with Family Reunion Photo Sharing App: How to Choose One or Birthday Party Photo Display Ideas or Celebration of Life Photo Display Ideas.
Anniversary displays work in two layers
Most anniversary photo display ideas stop at the printed retrospective — the timeline, the collage, the frames on each table. That layer is genuinely the heart of the party, because it is the only one that can show fifty years. But it is finished before the first guest arrives, and it cannot capture the evening itself. The second layer, a live screen showing photos guests take as they take them, handles the part the retrospective cannot.
| Layer | What it is | What it does for the party |
|---|---|---|
| Printed retrospective | Photos you choose and print in advance — timelines, frames, collages, a memory table | Shows the couple's whole story and gives guests something to gather around and talk about |
| Live guest slideshow | A screen that opens with the same retrospective, then adds guest photos during the party | Captures the reunion itself, gives every generation a way to participate, and leaves the couple with photos nobody had to chase |
Nine printed anniversary party photo display ideas
These formats use photos gathered before the party. Aim for a selective set — roughly fifteen to thirty images across the whole span — rather than everything the family can find. A display people actually finish reading beats an exhaustive one they walk past.
1. A decade timeline
Run photos in chronological order along a wall, a mantel, or a length of twine, grouped by decade with a small card marking each one. For a 50th, five clusters is enough. Guests naturally walk it from the beginning and stop at the years they were part of, which is exactly the conversation the party wants.
2. Framed centerpieces by chapter
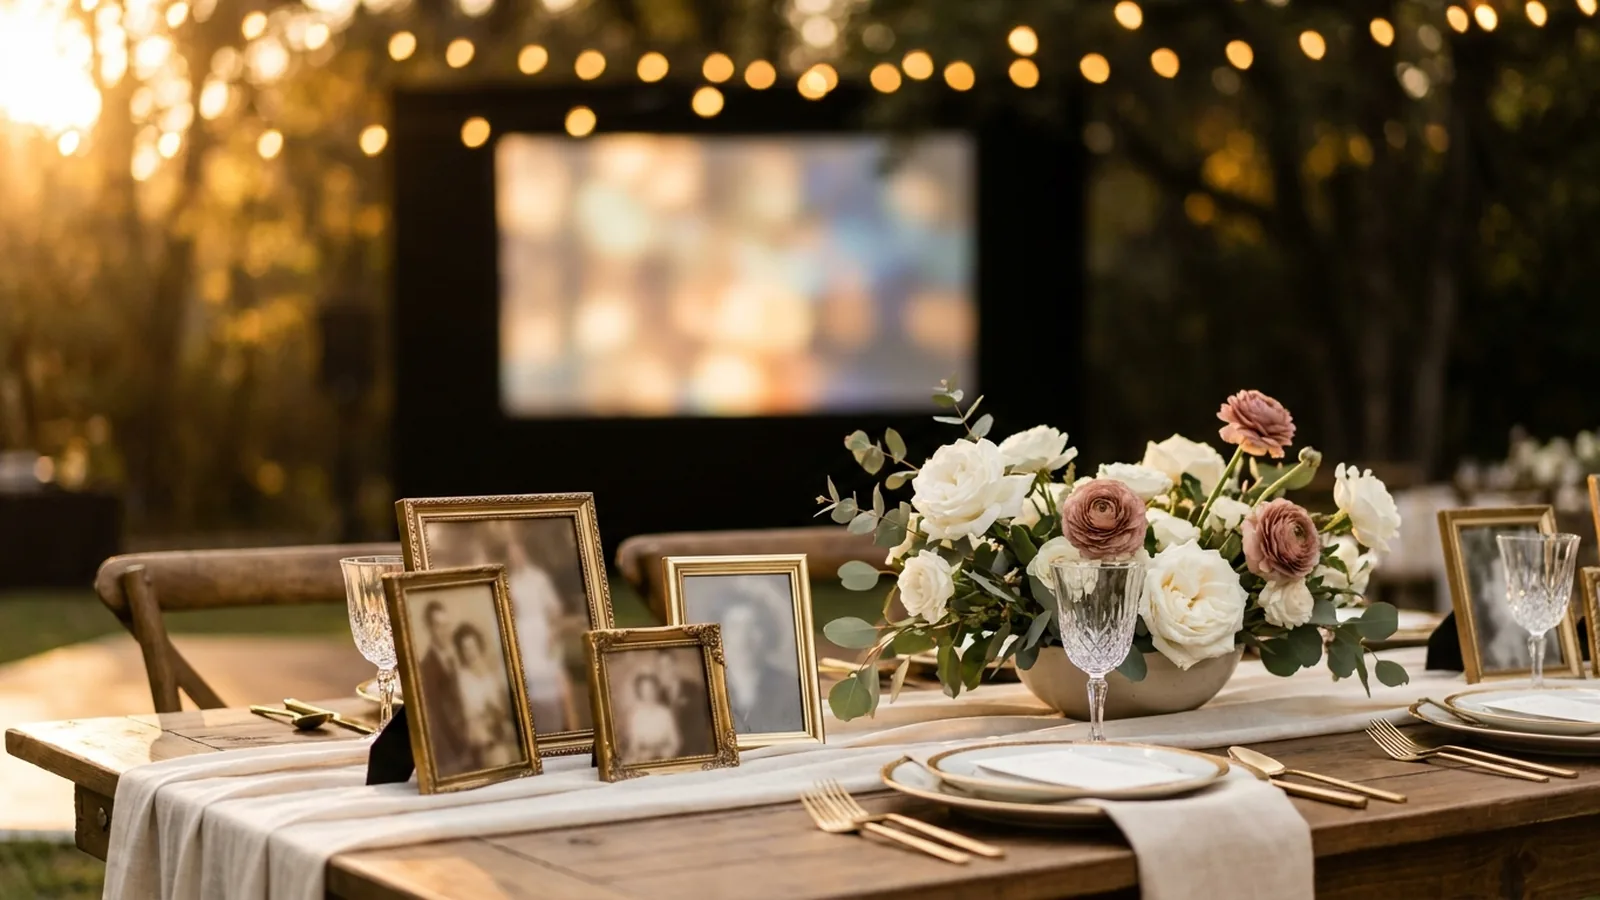
Give each table a different era: the early years at one, the young-family years at another, recent travel at a third. Seated guests discover the theme within a minute, and the frames go home with the couple instead of into a recycling bin.
3. Then-and-now pairs
Mount an early photo beside a recent one taken in the same place, the same pose, or with the same people. It is the most-shared format at anniversary parties for a reason: the two images do the storytelling without a caption.
4. The milestone number filled with prints
A large 25, 40, or 50 cut from board and filled with small photographs announces the milestone and carries the story in one object. It also photographs well, which matters when guests start taking pictures of the display itself.
5. A wedding-day corner
Set aside one small table for the original wedding photographs, the invitation, and anything else that survived — a menu, a telegram, a program. Keep it separate from the rest of the retrospective so it reads as the beginning of the story rather than one more decade.
6. A guest-contributed photo board
Ask guests in the invitation to bring one printed photo of themselves with the couple, and give them a board, clips, and a marker for a caption. The board fills up during the party, and it surfaces images the hosts never had.
7. Hanging photo strings with warm lights
Twine, small wooden clips, and string lights soften any hall or backyard, and the format absorbs mismatched print sizes without looking untidy. It scales from fifteen photos to sixty and costs almost nothing.
8. A memory table with objects, not just photos
Photographs plus a few artifacts — a well-worn recipe card, a set of house keys, a team pennant, an old passport — give the retrospective texture. Older guests tend to gravitate here and stay, because the objects prompt stories the photos alone do not.
9. A photo guest book
Print a handful of images with wide margins and leave pens beside them so guests write directly around the picture. The couple ends the night with annotated photographs instead of a page of signatures.
How to gather the old photos before the party
The hardest part of an anniversary display is not the format, it is the sourcing — the photos are scattered across siblings, children, and friends who each have a few. Start four to six weeks out.
- Ask the couple first, and look for the gaps: early years and recent years are usually well covered, the middle decades rarely are.
- Message the family group chat with a specific ask — two or three photos each, ideally from a named era — instead of an open request for anything.
- Give one shared destination to send them to, so images do not scatter across texts, email, and social messages.
- Photograph printed originals rather than borrowing them: lay the print flat in indirect daylight, shoot straight down, and avoid flash glare.
- Confirm with the couple before displaying anything sensitive — a previous marriage, an estranged relative, a hard year. A milestone party amplifies everything on the wall.
Add a live slideshow that keeps growing
The printed layer is complete before the party starts. The live layer is the one that grows. It opens with the same retrospective you printed and then adds the photos guests take — and the old ones they have on their phones — while the party is still happening.
The mechanism is a QR code on a small sign that opens an upload page in the guest's phone browser. Guests scan it with the camera app they already use, choose photos from their camera roll or take a new one, and the display picks them up. No group chat to join, no app to install, no collecting phones at the door.
Phone-camera reference: Apple iPhone QR scanning.
Android-camera reference: Google Lens image and object search.
Set it up in five steps
- Create the event gallery a few days early and load the retrospective photos as the opening sequence, so the screen is never empty when guests walk in.
- Generate the QR code and keep a clear margin around it; DENSO WAVE, the company behind the QR Code, calls that margin the quiet zone and recommends leaving it unobstructed.
- Print several small signs with the code and one short instruction, such as “Scan to add your photos of Mom and Dad.”
- Test the printed sign on at least one iPhone and one Android phone, and complete a full upload on each.
- Connect a laptop or compatible browser device to the room's TV or projector and start the slideshow before the first guest arrives.
QR design reference: DENSO WAVE guidance on QR Code quiet zones.
Match the display to the milestone
| Anniversary | Printed layer that works hardest | Live layer that works hardest |
|---|---|---|
| 10th and 15th | Then-and-now pairs; a compact timeline; the wedding-day corner | Friends still in regular contact upload plenty of recent candids, so the screen fills fast |
| 25th (silver) | Decade timeline; framed centerpieces by chapter | Guests contribute photos from years the couple was too busy raising children to document |
| 40th and 50th (golden) | Full decade timeline; memory table with objects; milestone number filled with prints | Adult children and old friends add archived photos from their phones, and the display turns into a rolling reunion |
| Surprise anniversary parties | Photo wall behind the entrance for the reveal | The reveal itself appears on screen within minutes, photographed from every angle in the room |
Where the display, signs, and screen go
- Entrance or welcome table: the timeline works hardest where guests arrive and pause before finding a seat.
- Dining tables: small tent-card QR codes reach seated guests during the meal, when phones are already out.
- Beside the screen: guests see the slideshow, scan, and watch their photo join it — the single most effective placement.
- Near the toast or speech area: the minutes after the speeches produce the evening's best candids.
- The invitation itself, so relatives who cannot travel can follow along and guests can dig out old photos in advance.
Privacy, family history, and the screen
- Say on the sign or invitation who can see the gallery, so guests can decide for themselves what to upload.
- Agree in advance with the couple on anything that should not go on a wall or a screen — previous relationships, a relative nobody has spoken to, a difficult year.
- Ask a trusted family member, not the couple, to hold the host controls so an unwanted photo can be removed quietly.
- Treat the gallery as an event collection rather than permanent storage, and download what the family wants to keep before the access window closes.
Anniversary photo display checklist
- Four to six weeks out, ask the couple and the family group chat for photos, naming the eras that are missing.
- Choose fifteen to thirty images that cover the whole span rather than one well-documented decade.
- Confirm with the couple that every displayed photo is welcome.
- Pick one printed format that suits the room and build it before the party.
- Create the event gallery and load the same photos as the opening sequence.
- Generate the QR code, keep its quiet zone clear, and print several small signs.
- Test the printed sign on one iPhone and one Android phone.
- Connect the TV or projector, check how portrait photos crop, and secure the cables.
- Start the slideshow before guests arrive so the screen is never blank.
- Mention the code at the welcome and again after the toast.
- After the party, download everything and send the best images back to the family.
How Momently handles the live side
Momently gives an event one guest link and QR code. Guests open a phone-first upload page in their browser — no app download, no account — and their photos join the same gallery as the opening sequence. The host's chosen retrospective plays first, guest photos follow in a fair shuffle, and the whole story loops on the room's screen for as long as the party runs.
Hosts can pause new uploads, remove individual photos, and configure how the player behaves on the display. Photos are stored as private objects and served through temporary signed links. On supported browsers, guest images are resized and converted before upload, which normally removes embedded location metadata, and HEIC or HEIF photos from iPhones are always converted to JPEG in the browser first.
The simplest setup that does both jobs
Build one printed retrospective — a decade timeline if the room has a good wall, framed centerpieces if it is a seated dinner — from fifteen to thirty carefully chosen photographs. Put those same images on a live slideshow as the opening sequence, hand guests one QR code, and let the evening add itself to the screen. The printed layer honors the decades the couple has already lived. The live layer captures the night everyone came to celebrate them, which is the one photograph the retrospective was always missing.
Questions event hosts ask
What is the best way to display photos at an anniversary party?
Pair one printed retrospective with a live slideshow. A decade timeline, framed centerpieces by era, then-and-now pairs, or a milestone number filled with prints shows the couple's history; a live slideshow on the room's TV opens with those same photos and then adds the pictures guests take during the party, so the display keeps growing all evening.
How many photos should a 50th anniversary display include?
Roughly fifteen to thirty printed photographs spread across the decades, so each one actually gets looked at and no single era dominates. A live slideshow can hold far more, which is where extra family photos and the guest uploads from the evening belong.
How do you collect old family photos before an anniversary party?
Start four to six weeks ahead and make a specific ask rather than an open one: two or three photos each, from a named era, sent to one shared destination. Photograph printed originals flat in indirect daylight instead of borrowing them, and check with the couple before displaying anything sensitive.
Can guests add their own photos to an anniversary slideshow?
Yes. Print a QR code that opens a browser upload page, place it where guests pause — the welcome table, the dining tables, beside the screen — and guests scan it with their phone camera and choose photos from their camera roll. No app download or account is needed, which matters when the guest list spans several generations.
Is a slideshow or a printed display better for an anniversary party?
They do different jobs. A printed display is the one guests gather around and talk over, and it needs no power or internet. A live slideshow captures the party itself and collects photos guests have on their phones that the hosts never saw. Most anniversary parties are best served by both, with the printed photos doubling as the slideshow's opening sequence.